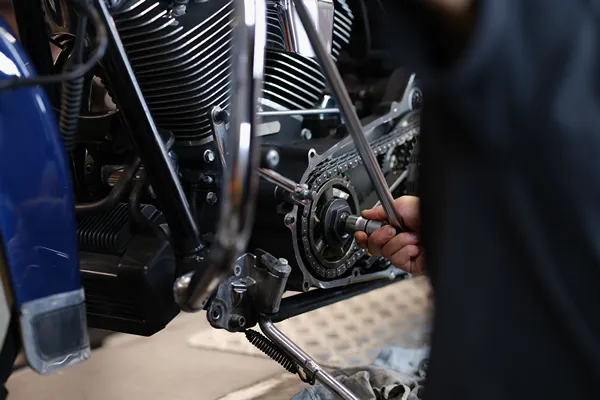
Maintaining a motorcycle can feel intimidating for beginners, but many tasks are manageable at home with a bit of guidance and the right tools. Regular maintenance keeps your bike in top shape, extends its lifespan, and ensures safety on the road. This guide walks you through essential DIY motorcycle maintenance tasks that any rider can handle with a little effort and patience.
Why DIY Motorcycle Maintenance Matters
DIY maintenance empowers you to understand your bike better and identify issues early. It also saves money by reducing trips to the mechanic and builds confidence in handling your motorcycle. Plus, there’s a sense of satisfaction in knowing your ride is in prime condition thanks to your own efforts.
Essential Tools for DIY Motorcycle Maintenance
Before diving into maintenance, gather the following tools:
- Wrenches and socket sets
- Screwdrivers (flathead and Phillips)
- Chain cleaner and lubricant
- Motorcycle lift or paddock stand
- Torque wrench
- Tire pressure gauge
- Oil drain pan
- Shop towels or rags
Having a well-stocked toolbox ensures you can tackle most routine tasks with ease.
1. Checking and Changing the Oil
Why It’s Important:
Oil lubricates the engine’s moving parts and prevents overheating. Regular oil changes ensure your engine runs smoothly.
Steps:
- Warm up the engine for a few minutes to help the oil flow.
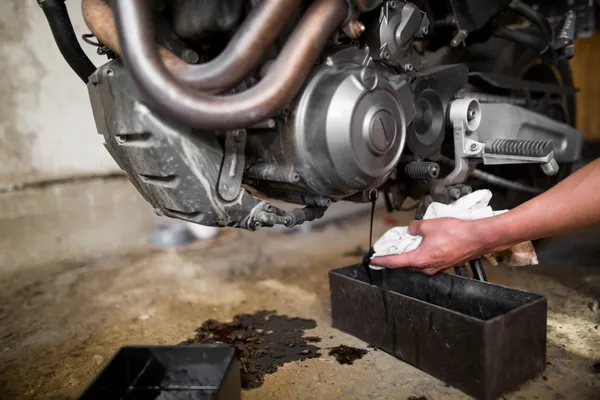
- Place an oil drain pan under the drain bolt.
- Remove the drain bolt and let the oil drain completely.
- Replace the oil filter if necessary.
- Reinsert the drain bolt and tighten it securely.
- Pour in the new oil, checking the level with the dipstick or sight glass.
Pro Tip: Always use the type of oil recommended in your owner’s manual.
2. Inspecting and Adjusting the Chain
Why It’s Important:
The chain transfers power from the engine to the rear wheel. A loose or dirty chain can lead to poor performance or even accidents.
Steps:
- Inspect the chain for dirt, rust, and slack.
- Clean the chain using a chain cleaner and a brush.
- Lubricate the chain with a high-quality chain lube.
- Check the tension. Refer to your owner’s manual for the correct slack measurement.
- Adjust the tension using the adjusters near the rear wheel axle.
Pro Tip: Clean and lubricate your chain every 500 miles or after riding in wet conditions.
3. Checking Tire Pressure and Condition
Why It’s Important:
Proper tire pressure ensures optimal handling and fuel efficiency, while checking for wear prevents blowouts.
Steps:
- Use a tire pressure gauge to check the pressure when the tires are cold.
- Inflate or deflate to the recommended PSI listed in your manual or on the bike’s sticker.
- Inspect the tread for wear and look for punctures or cracks.
Pro Tip: Replace tires when the tread depth is below 2mm or when there’s visible damage.
4. Replacing the Air Filter
Why It’s Important:
A clean air filter ensures the engine gets the proper air-to-fuel mixture for combustion.
Steps:
- Locate the air filter housing (refer to your manual).
- Remove the cover and take out the filter.
- Inspect the filter for dirt and damage.
- Clean a reusable filter or replace it with a new one.
- Reassemble the housing.
Pro Tip: Replace the air filter every 10,000-15,000 miles or as specified in your manual.
When to Seek Professional Mechanical Help
While many tasks are manageable at home, certain jobs like valve adjustments, suspension tuning, or major engine repairs require specialized tools and expertise. Don’t hesitate to consult a mechanic if a task feels beyond your skill level
DIY motorcycle maintenance isn’t just a way to save money—it’s an opportunity to deepen your connection with your bike. By handling these routine tasks, you’ll keep your motorcycle running smoothly and gain valuable skills along the way.
So, grab your tools, roll up your sleeves, and give your motorcycle the care it deserves. The open road awaits!


