Top 10 Motorcycle Accessories Every Rider Needs – Part 2
Riding a motorcycle isn’t just about getting from point A to point B—it’s about the thrill of the open road and the freedom of two wheels. Whether you’re a weekend warrior or a daily commuter, the right accessories can make your rides safer, more comfortable, and even more enjoyable. Here are ten must-have accessories for every rider.
6. A Phone Mount for Easy Navigation
If you use your phone for GPS directions, a secure phone mount keeps it in view without having to fumble in your pocket. Look for:
- A strong grip that holds up on bumpy roads.
- A quick-release system for easy removal.
- A waterproof case if you ride in the rain.
This simple accessory makes navigating while riding much safer and easier.
7. A Quality Set of Rain Gear
Weather can be unpredictable, and getting caught in a downpour without the right gear can be miserable. A good rain suit includes:
- A waterproof jacket and pants to keep you dry.
- Gloves with waterproof lining to protect your hands.
- Boot covers to keep your feet from getting soaked.
Packing rain gear on every ride means you’ll be ready for whatever the sky throws at you.
8. A Security Lock or GPS Tracker
Motorcycle theft is a real concern, especially in cities. A strong security lock or a discreet GPS tracker can help keep your bike safe by:
- Deterring thieves with a loud alarm or heavy-duty chain.
- Allowing you to track your bike’s location if it’s stolen.
- Giving you peace of mind when parking in unfamiliar places.
A little security goes a long way in protecting your investment.
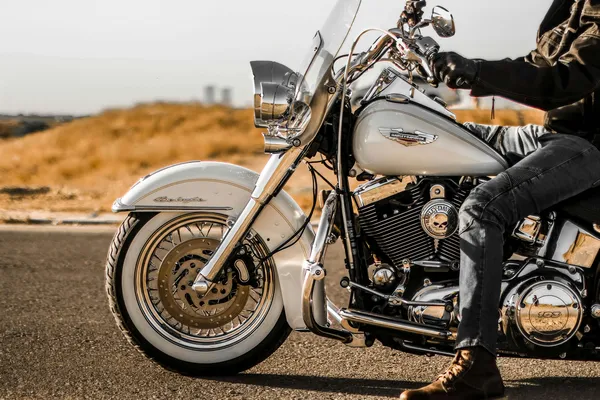
9. A Pair of Riding Boots
Riding boots aren’t just for looks—they protect your feet and ankles from injuries. A good pair should have:
- Reinforced soles for better grip on the road.
- Ankle support to prevent twists or sprains.
- Waterproofing for riding in all conditions.
Unlike regular shoes, proper riding boots give you better control and safety while on the bike.
10. A Small Toolkit for Quick Fixes
You never know when you’ll need to tighten a bolt or adjust your chain. A compact toolkit can be a lifesaver, especially on long rides. Essentials include:
- Wrenches and screwdrivers for basic adjustments.
- Tire repair kit in case of a flat.
- A multi-tool for unexpected repairs.
Keeping a small toolkit on your bike means you’re prepared for the little surprises that pop up on the road.
The right accessories can make your motorcycle adventures safer, more comfortable, and a lot more fun. Whether you’re gearing up for a cross-country trip or just riding around town, investing in these essentials will enhance your overall experience.
What’s your must-have motorcycle accessory? Let us know in the comments!

Thank You For Joining Us in Kalamazoo!