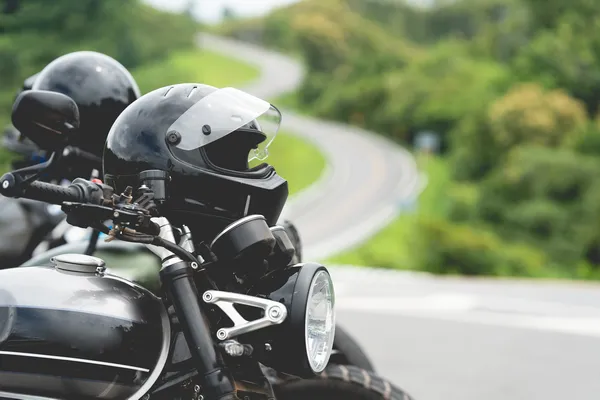
Riding a motorcycle offers an unparalleled sense of freedom and adventure, but it also comes with significant risks. One of the most critical aspects of motorcycle safety is wearing the right gear, and at the top of that list is the helmet. For new riders, understanding the importance of a helmet, choosing the right one, and knowing how to properly care for it is essential. This article delves into why a helmet is the most important piece of gear for any rider and what to consider when purchasing one.
1. The Importance of Wearing a Helmet
Protection Against Head Injuries
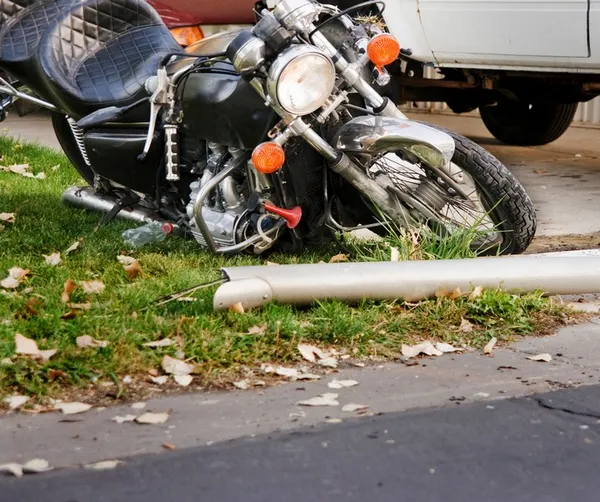
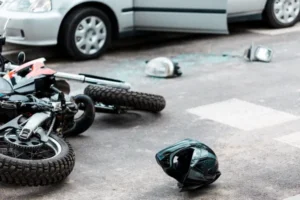
The primary function of a helmet is to protect your head in the event of an accident. According to the National Highway Traffic Safety Administration (NHTSA), helmets are estimated to be 37% effective in preventing fatal injuries to motorcycle riders and 41% for motorcycle passengers. Given the vulnerability of motorcyclists compared to car occupants, wearing a helmet can be the difference between life and death in a crash.
Legal Requirements
In many regions, wearing a helmet is not just a safety recommendation—it’s the law. Helmet laws vary by state and country, with some requiring all riders to wear helmets, while others have partial laws, typically based on age or experience level. Regardless of the legal requirements in your area, it’s always wise to wear a helmet to protect yourself.
Impact on Insurance and Liability
Wearing a helmet can also affect your insurance coverage and liability in the event of an accident. Many insurance companies offer discounts for riders who wear helmets, recognizing the reduced risk of severe injury. Additionally, not wearing a helmet could potentially affect the outcome of an insurance claim or a legal case if an accident occurs.
2. Types of Helmets
Full-Face Helmets
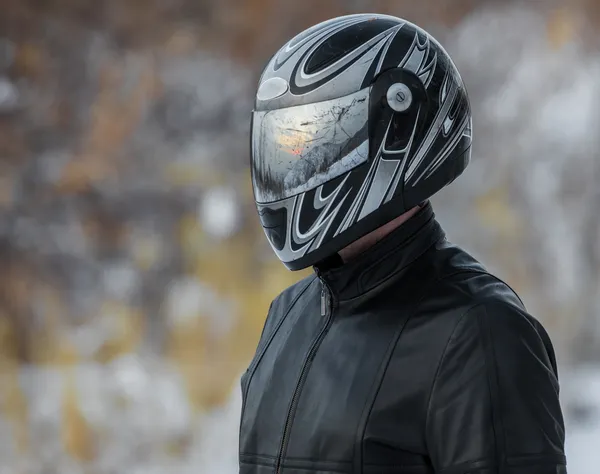
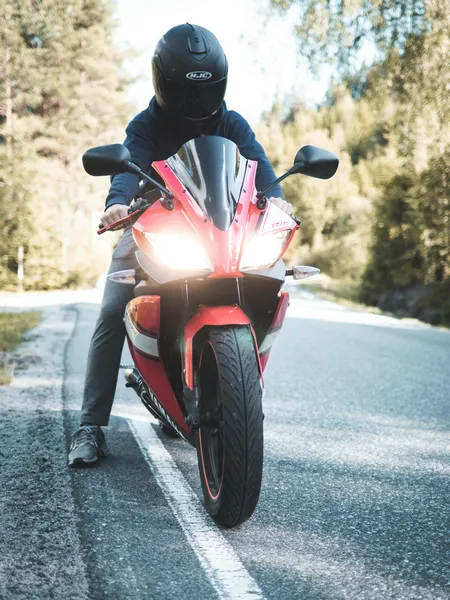
Full-face helmets provide the most comprehensive protection, covering the entire head, including the chin and face. These helmets are ideal for new riders because they offer maximum safety. The integrated visor protects the eyes from wind, debris, and glare, while the enclosed design reduces wind noise and provides better aerodynamics.
Modular Helmets
Modular helmets, also known as flip-up helmets, are a hybrid between full-face and open-face helmets. They allow the rider to flip up the chin bar and visor, offering flexibility and convenience. While they provide good protection, especially when the chin bar is down, they are slightly heavier and may not be as structurally robust as full-face helmets.
Open-Face Helmets
Open-face helmets cover the top, sides, and back of the head but leave the face exposed. While they offer more ventilation and a greater field of vision, they provide less protection than full-face or modular helmets, particularly for the face and chin.
Half Helmets
Half helmets, also known as “brain buckets,” provide minimal coverage, protecting only the top of the head. They are popular for their lightweight design and greater airflow, but they offer the least protection. These helmets are not recommended for new riders due to their limited safety features.
3. How to Choose the Right Helmet
Fit and Comfort
The most important factor when choosing a helmet is fit. A properly fitting helmet should be snug but not uncomfortably tight. It should sit level on your head and not rock back and forth. To check the fit, try wearing the helmet for 15-20 minutes to ensure there are no pressure points or discomfort.
Safety Ratings
Look for helmets that meet recognized safety standards, such as DOT (Department of Transportation), ECE (Economic Commission for Europe), or Snell certification. These standards ensure that the helmet has been tested for impact resistance, penetration resistance, and retention system effectiveness.
Material
Helmets are typically made from materials like polycarbonate, fiberglass composite, or carbon fiber. Polycarbonate helmets are affordable and durable, while fiberglass and carbon fiber helmets are lighter and offer better impact absorption, albeit at a higher price point.
Ventilation
Good ventilation is essential for rider comfort, especially during long rides or in hot weather. Look for helmets with adjustable vents that allow you to control the airflow and prevent overheating.
Visor
The visor should be clear and free of distortions, providing a wide field of view. Some helmets offer tinted visors for sun protection, or pinlock systems that prevent fogging in cold or wet conditions.
Weight
The weight of the helmet is another consideration. Heavier helmets can cause neck strain during long rides, especially for new riders who may not be accustomed to wearing a helmet. However, a helmet should not be so light that it compromises safety.
4. Caring for Your Helmet
Cleaning
Regular cleaning of your helmet is essential to maintain its appearance and functionality. Use a mild soap and water to clean the exterior, and a soft cloth for the visor. Avoid using harsh chemicals that could damage the helmet’s finish or weaken its materials.
Storage
Store your helmet in a cool, dry place, away from direct sunlight. Prolonged exposure to UV rays can degrade the helmet’s materials. Additionally, avoid placing your helmet on hard surfaces, which could cause it to roll off and get damaged.
Replacement
Helmets should be replaced every 3-5 years, or immediately after a significant impact, even if there’s no visible damage. Over time, the materials inside the helmet degrade, reducing its effectiveness.
For new motorcycle riders, a helmet is the most crucial piece of gear you can own. It’s not just about complying with the law; it’s about safeguarding your life every time you hit the road. By understanding the importance of wearing a helmet, choosing the right one, and taking proper care of it, you can enjoy the thrill of riding while staying protected. Remember, investing in a high-quality helmet is an investment in your safety and well-being.

